
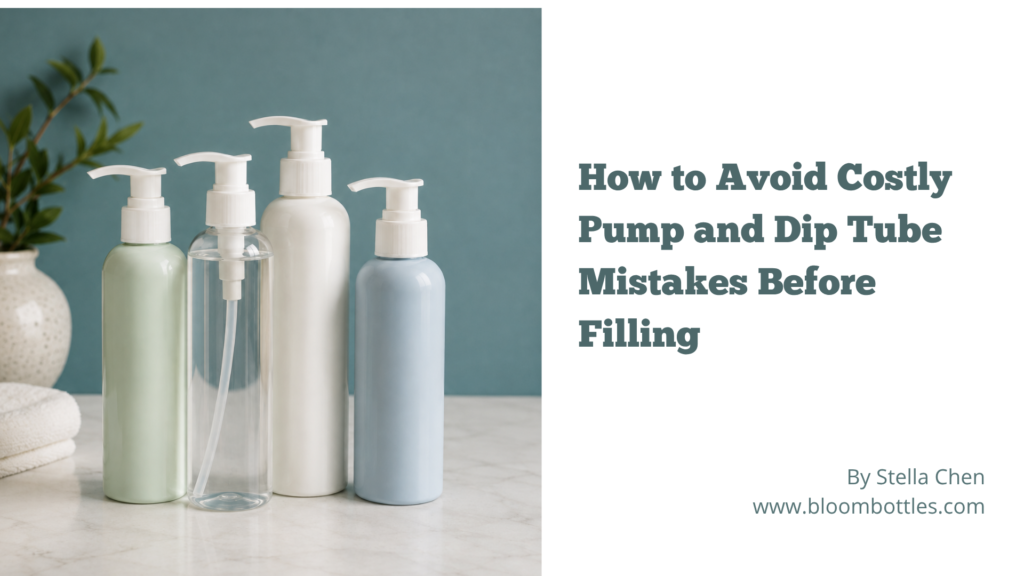
Pump problems often appear after the bottle and pump have already been selected. The package may look correct during sample review, but once the actual formula is filled, the pump may dispense too much or too little product, or the dip tube may not sit correctly inside the bottle.
These pump and dip tube mistakes are easy to miss when the components are reviewed separately. Pump output, tube length, bottle shape and formula viscosity all affect how the final dispensing system performs.
The best time to find these problems is during sample testing, while the bottle, pump and formula can still be checked together. At this stage, adjustments are much easier than after packaging has entered mass production.
Why Pump and Dip Tube Mistakes Matter Before Filling
A lotion pump is more than a closure. It connects the bottle, formula and dispensing experience.
The same pump can perform differently with formulas of different viscosity. A dip tube can also sit differently when the bottle height, shoulder or bottom geometry changes.
This is why pump approval should follow the same system-based approach used when selecting a bottle and closure system for skincare packaging. Individual components may appear suitable, but the final combination still needs to work together.
Mistake 1: Relying Only on the Pump Output Specification
Pump suppliers normally provide a nominal output, such as a certain volume per stroke. This helps the team select an initial pump option, but it should not be the only basis for final approval.
Pump structure, formula viscosity, priming and test method can all affect actual dispensing.
For example, a brand may want one full pump for a facial cleanser but prefer a smaller dose for a concentrated serum or treatment product. A pump can fit the bottle correctly and still deliver an unsuitable amount of product.
Use the nominal output as a starting specification. Then test representative samples with the intended formula before final approval.
Mistake 2: Calculating Dip Tube Length From Bottle Height Alone
A common shortcut is to estimate dip tube length from the overall bottle height. This can create problems because the tube does not simply follow the full external height of the bottle.
The pump structure, neck finish, bottle shoulder, internal height and bottom shape all affect the final tube requirement.
Two bottles with the same nominal capacity may therefore need different dip tube lengths.
For a new combination, assemble the actual bottle and pump. Then check where the tube sits inside the bottle. Do not rely only on a calculated length.
Mistake 3: Making the Dip Tube as Long as Possible
It may seem logical that a longer dip tube will help the consumer use more of the product. But the longest tube is not always the best tube.
If the tube is too short, it may stop above the lowest usable area of the bottle and leave more product behind.
If the tube is too long, it may bend too much or press against the bottle bottom. Depending on the bottle shape and tube cut, this can restrict product intake instead of improving it.
The goal is not maximum tube length. The goal is reliable product pickup without excessive bending or blockage.
Mistake 4: Ignoring the Bottle Bottom and Shoulder Shape
Bottle drawings often focus on capacity, diameter, height and neck finish. Pump projects also require a closer look at the internal bottle geometry.
A flat-bottom cylinder bottle does not position the tube in the same way as a bottle with a raised or curved base. The shoulder can also change the space available between the pump and the main bottle body.
A physical sample makes these details easier to check. Reviewing approved packaging samples before production lets the team inspect the assembled system instead of relying only on drawings and component dimensions.
Mistake 5: Testing the Pump Only With Water
Water works for an early mechanical check, but it does not represent every skincare or personal care formula.
A lotion, cleanser, body wash or haircare product may have very different flow characteristics. A pump that primes quickly with water may need more strokes with a thicker formula.
A water test can confirm that the pump mechanism works. It cannot fully confirm how the finished product will dispense.
Formula Viscosity and Pump Performance
The brand and contract manufacturer should test the selected pump with the intended formula under suitable project conditions. Viscosity, temperature and product characteristics can affect priming, output and dispensing consistency.
For cosmetic products sold in the United States, the FDA’s guidance on cosmetic product testing provides useful background on product safety and testing responsibilities. The brand and contract manufacturer should still evaluate pump performance and packaging compatibility for the specific formula and packaging system used in the project.
Mistake 6: Not Checking Pump Priming
Pump output usually describes the amount of product delivered after the pump begins working normally. The first few strokes also matter.
A newly filled package may need several strokes before product reaches the actuator. The number can change with the pump design, tube length and formula viscosity.
If priming takes too long, the consumer may think the package does not work. Difficult priming can also tell the contract manufacturer that the dispensing combination needs another review.
Include priming in the sample test. Do not check only the output after product has already filled the pump.
Mistake 7: Changing the Pump or Bottle Without Rechecking the Dip Tube
Packaging projects often change during development. A team may move to another bottle capacity, replace a pump because of availability or select a different pump structure after testing.
When the bottle or pump changes, do not automatically reuse the original dip tube specification.
A change in bottle height, pump structure or neck configuration can change the final tube requirement. This is one way a small plastic packaging component mismatch can become a dispensing problem after filling.
What Should You Confirm Before Pump Approval?
Pump Output
Confirm the nominal output supplied by the pump manufacturer. Then check whether that dose suits the intended product and use.
Dip Tube Length
Check the actual assembled pump and bottle. The tube should reach the intended pickup area without excessive bending or tight pressure against the bottle bottom.
Priming
Start with an unused pump and record how many strokes it takes to dispense product consistently.
Formula Performance
Use the intended formula for final functional testing. Water or another substitute liquid may not give the same result.
Final Component Version
Make sure the bottle, pump and dip tube under test match the versions planned for production. Clear version control helps prevent the plastic packaging sample mistakes before testing that can make test results difficult to use later.
Record Pump and Dip Tube Specifications Before Production
Once the team approves the final combination, record the key specifications. Do not rely on the physical sample alone.
Depending on the project, the record may include:
- Bottle reference and capacity
- Bottle material and neck finish
- Pump model or supplier reference
- Nominal pump output
- Dip tube specification
- Pump color and finish
- Locking or overcap configuration when applicable
- Formula used during testing
- Sample version and approval date
Add these details to the project’s plastic packaging specification sheet. This gives purchasing, production, the packaging supplier and the contract manufacturer the same approved reference.
Practical Checklist Before Filling
- Confirm the intended bottle and pump combination.
- Verify the bottle neck finish and pump closure specification.
- Confirm the nominal pump output.
- Check whether the output suits the intended product dose.
- Inspect the actual dip tube position inside the bottle.
- Make sure the tube is not too short or excessively bent.
- Test pump priming from the unused condition.
- Use the intended formula for final functional testing.
- Review performance at relevant product temperatures when needed.
- Recheck the dip tube if the bottle or pump changes.
- Record the approved pump and dip tube specifications.
- Keep the approved physical sample as a production reference.
Final Thought
Pump output and dip tube length may look like small technical details. Both can directly affect how the finished packaging works after filling.
Confirm them while the team can still test the actual bottle, pump and formula together. At this stage, changes are easier to manage.
For brands and contract manufacturers, an assembled sample test often gives more useful information than pump specifications or bottle dimensions alone. Once the final system performs as expected, clear records also make mass production and repeat orders easier to control.
FAQ
What does pump output mean in plastic packaging?
Pump output usually means the nominal amount of product dispensed in one complete stroke. Use the supplier specification for initial selection, then test the final package with the intended formula.
How should you determine dip tube length?
Determine dip tube length from the actual pump and bottle combination rather than bottle height alone. Pump structure, neck finish, bottle shoulder, internal height and bottom shape can all affect the final length.
Should a dip tube touch the bottom of the bottle?
The tube should reach the intended product pickup area. However, too much pressure against the bottom can bend the tube or restrict product intake. Check the position with the actual assembled package.
Should lotion pumps be tested with the actual formula?
Yes. Water can help with an early mechanical test, but the intended formula gives a better picture of priming, output and dispensing performance. Formula viscosity and other product characteristics can change the result.